 Accessible Home Hub
WORLDWIDE PLANNING · PRACTICAL GUIDE
Curbless shower drainage, slopes and waterproofing
Plan floor build-up, drainage and waterproofing together before creating a step-free shower.
Planning & practical guidance
Floor build-up comes first
Record the existing floor, drain position, finished levels and available construction depth. A designer should compare a recessed subfloor, a raised surrounding floor or another compatible assembly. Do not cut, notch or lower structural joists based on a generic two-inch recess instruction.
Slope must satisfy the whole design
A quarter inch per foot equals 1:48, approximately 2.08%. The US Access Board bathing-room guide discusses a 1:48 maximum slope to support accessibility. Local plumbing requirements and the chosen tray or waterproofing system must also be reconciled by the designer; the same figure is not a universal instruction to build every floor at exactly that pitch.
Point drains and linear drains
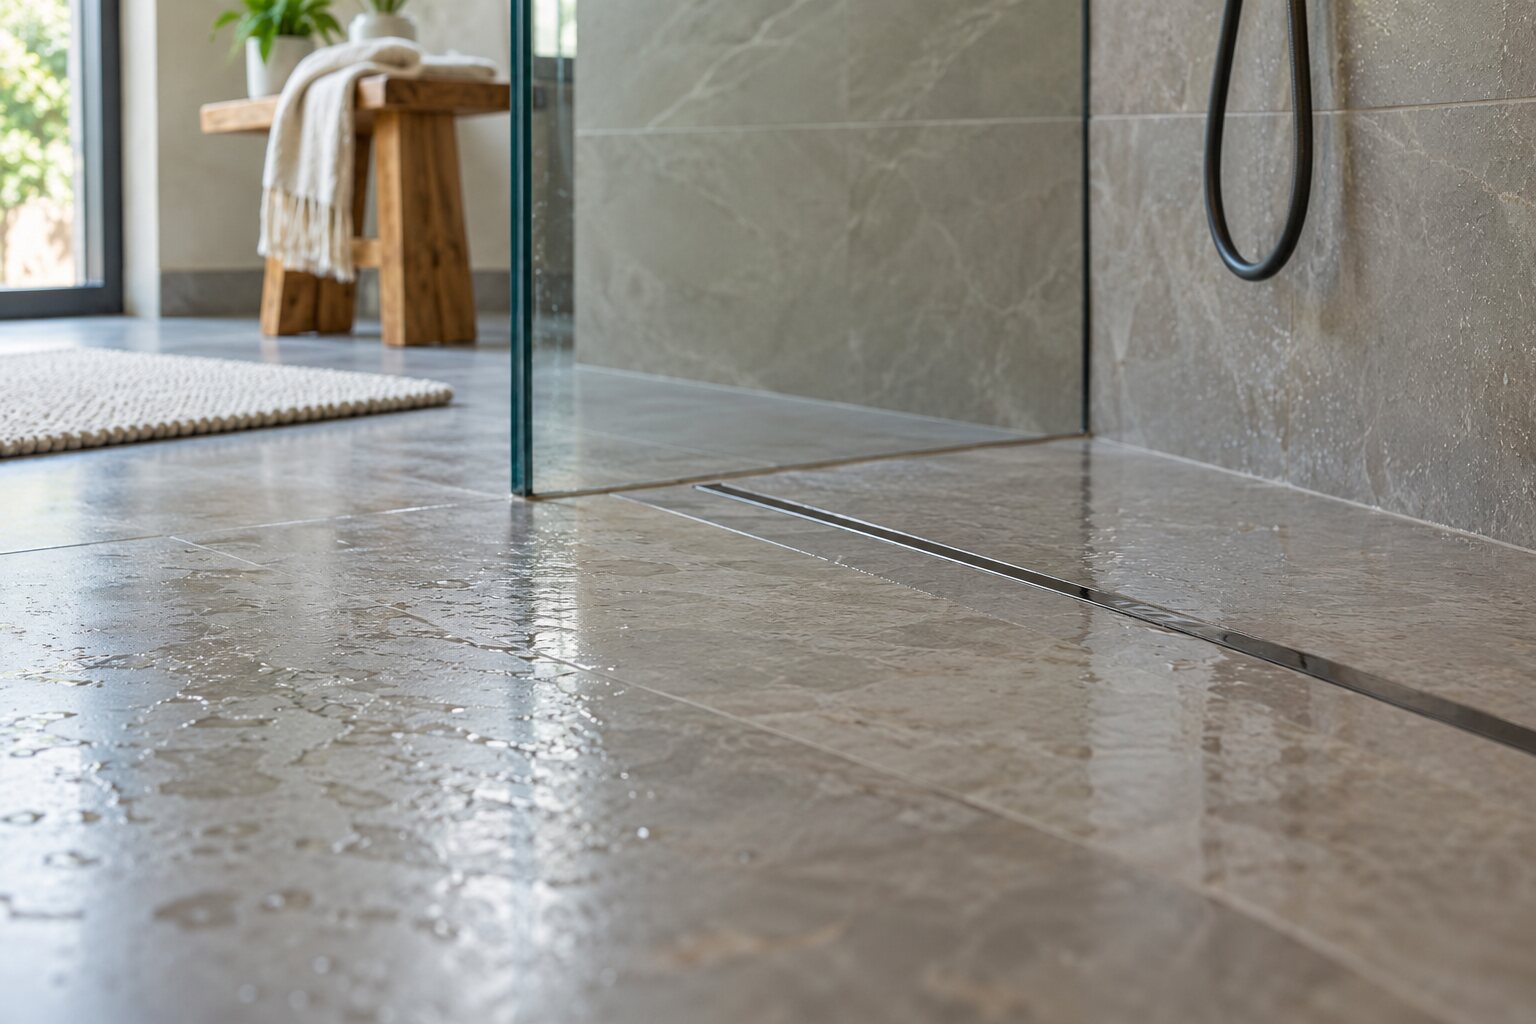
A point drain often creates several sloping planes; a linear drain may permit a single plane. Tile size depends on those planes, cuts and the system's instructions. There is no universal two-inch maximum tile size for every point drain, and linear drains do not all need to run wall to wall.
Waterproofing beyond the entry
Ask for the waterproofing extent, sealed joints, wall junctions and penetrations on the drawing. Schluter calls for protection in areas subject to water exposure and recommends consulting its system handbooks. A universal six-foot extension or 72-inch wall height is not a substitute for the specified assembly and local requirements.
Contain spray without creating another barrier
Consider shower-head direction, enclosure, drying space and how assistance reaches the resident. A collapsible dam still changes the entry and needs assessment for the actual mobility equipment. Flush flooring alone does not establish an accessible shower.
Commissioning and quote questions
Record the exact tray, drain, membrane, tile and floor build-up. Ask who confirms structural changes, drain capacity, waterproofing tests where required, finished slope and access for cleaning. Agree temporary washing arrangements during construction.
Plan together
For residents and families
Record the resident's preferences, difficult tasks and space constraints. Bring them to an individual assessment.
For contractors and professionals
Confirm assessed needs, local requirements and the chosen system's installation instructions before specifying work.
Related planning guides
Sources & further reading
Reviewed 7 October 2026. US standards apply within their scope; local rules and individual needs require confirmation. No hands-on product testing or professional certification is claimed.
Turn this guide into a plan
Choose the next step that fits your project. These tools help prepare a discussion; they do not replace an individual assessment.